Building a canoe with Dries
With Dries we’ve started building a canoe. Dries is a carpenter and takes a workshop canoe building with us. In consultation he chose to build an Abenaki river canoe. It’s our new model that will be launched at the Open Canoe Festival at the Weerribben the second weekend of september.
The Abenaki River Canoe
Our Abenaki River Canoe offers a unique mix of speed and responsiveness. The canoe maneuvers well and glides effortlesly through the water. The slightly arched bottom and straight edges make edging easy. He is also suitable as a solo canoe.
The Abenaki River canoe is a solo tripping canoe for the average to experienced canoeist or a tandem canoe for shorter trips. He is ideally suited for rivers but will provide plenty of enjoyment during quiet trips on lakes and other quiet water.
The Abenaki lived along the Saint Francis River in Quebec and used their river canoes for hunting and fishing, but also for the transportation of merchandise. Their canoes are similar to those of the Malecite but are generally slightly shorter, narrower and more maneuverable.
The stations
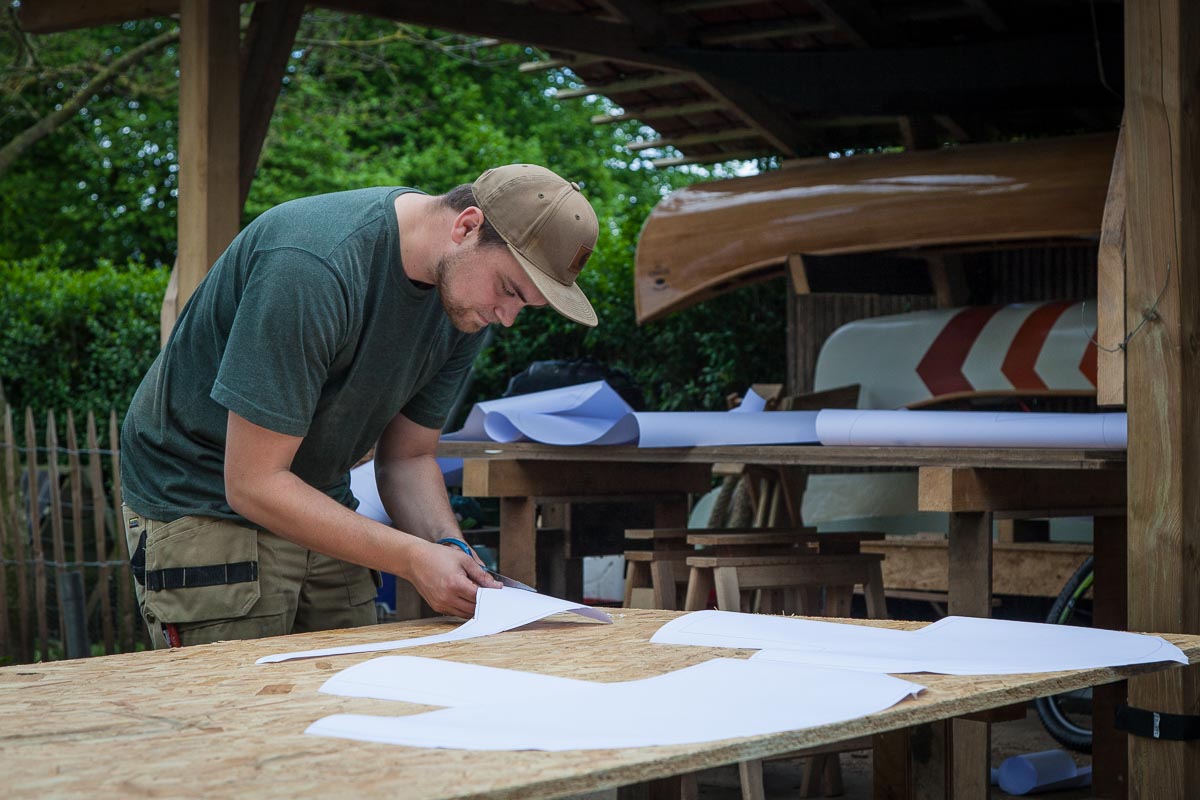
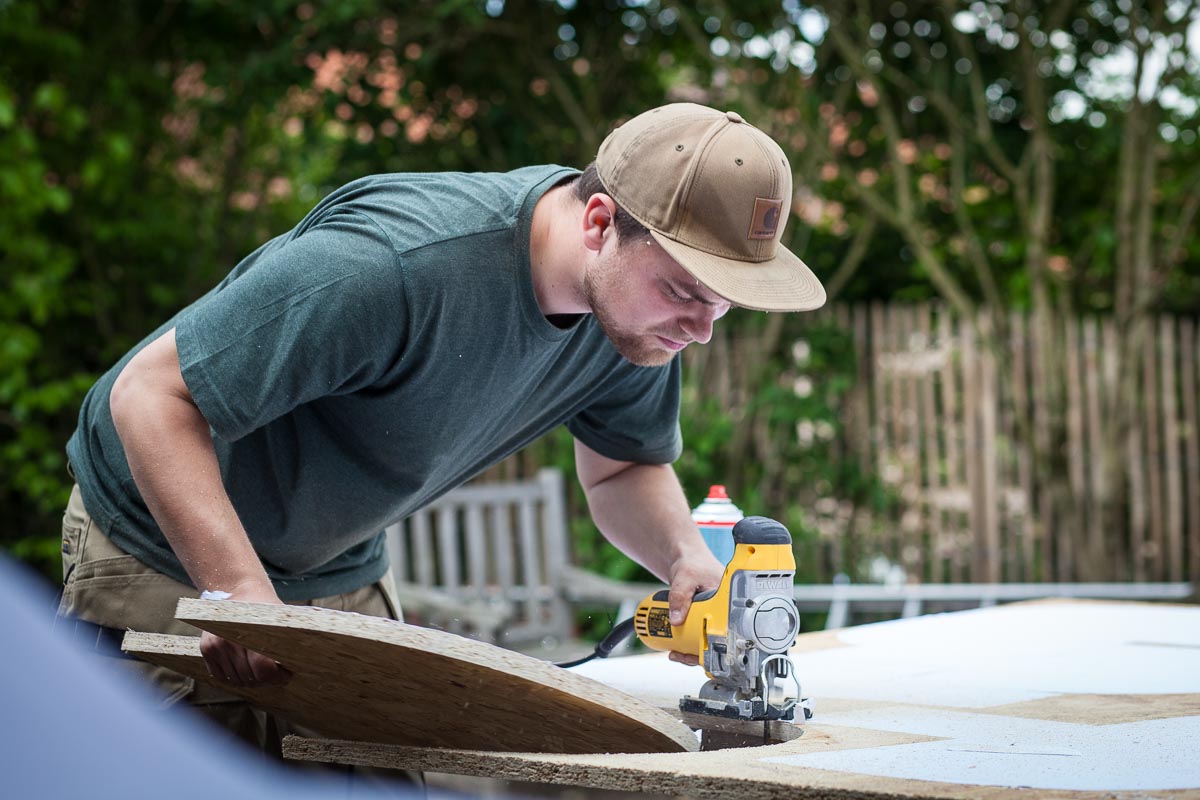
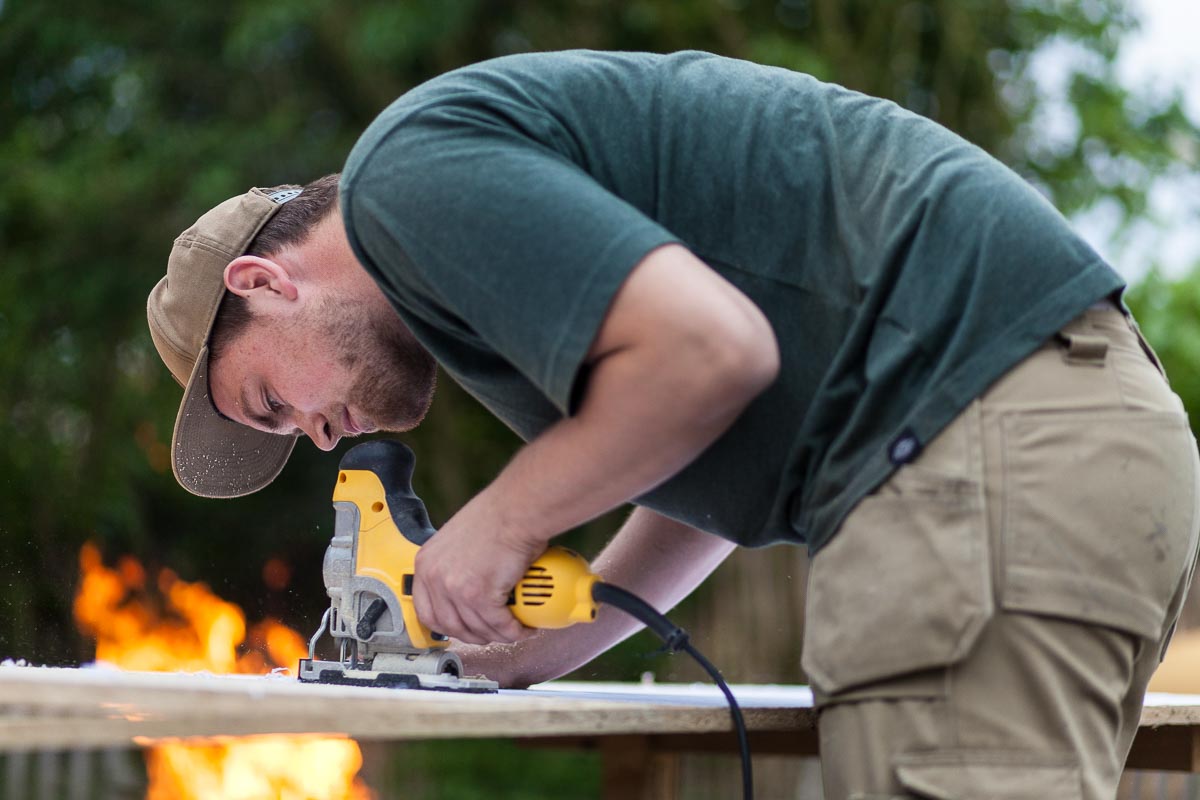
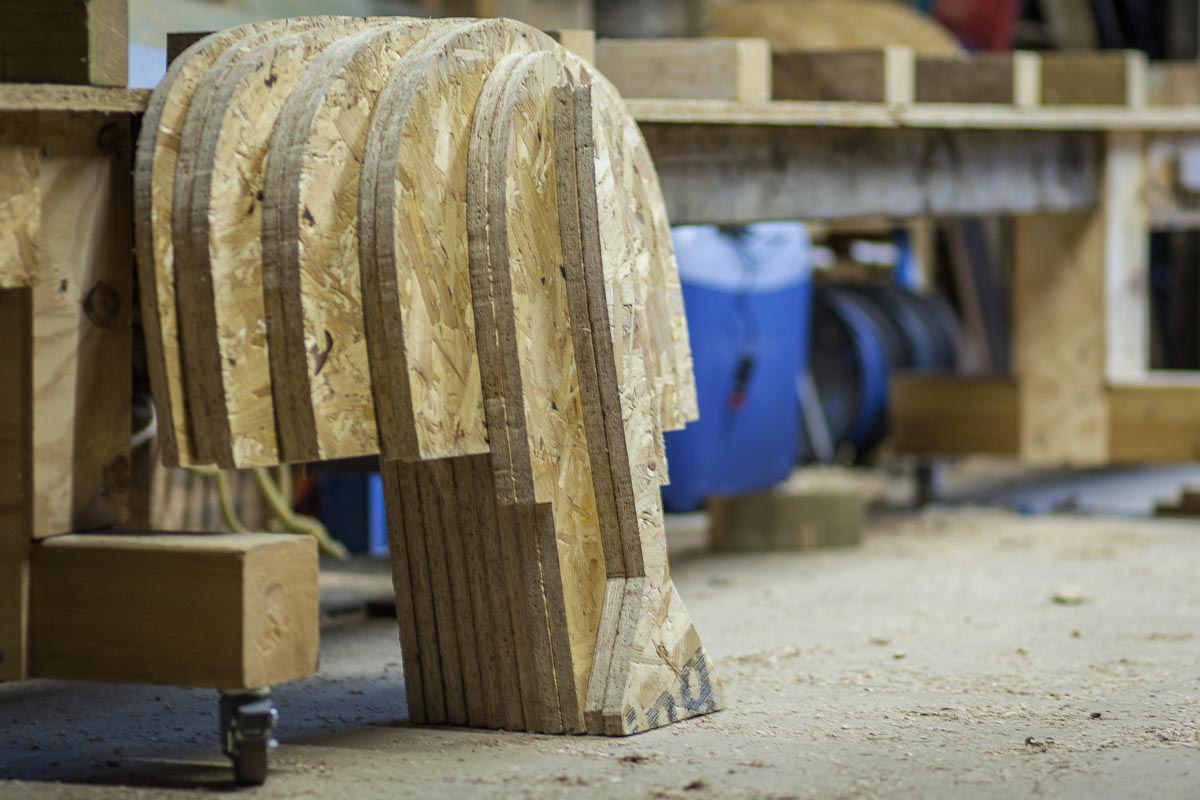
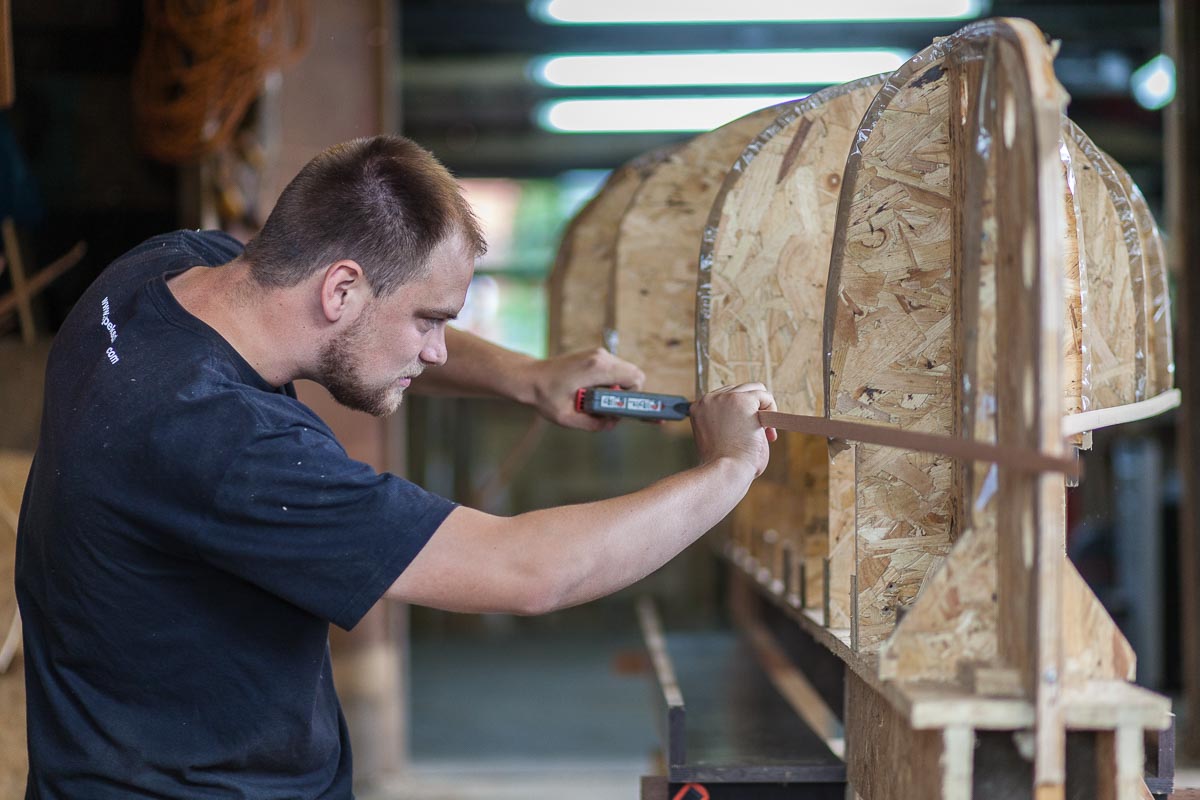
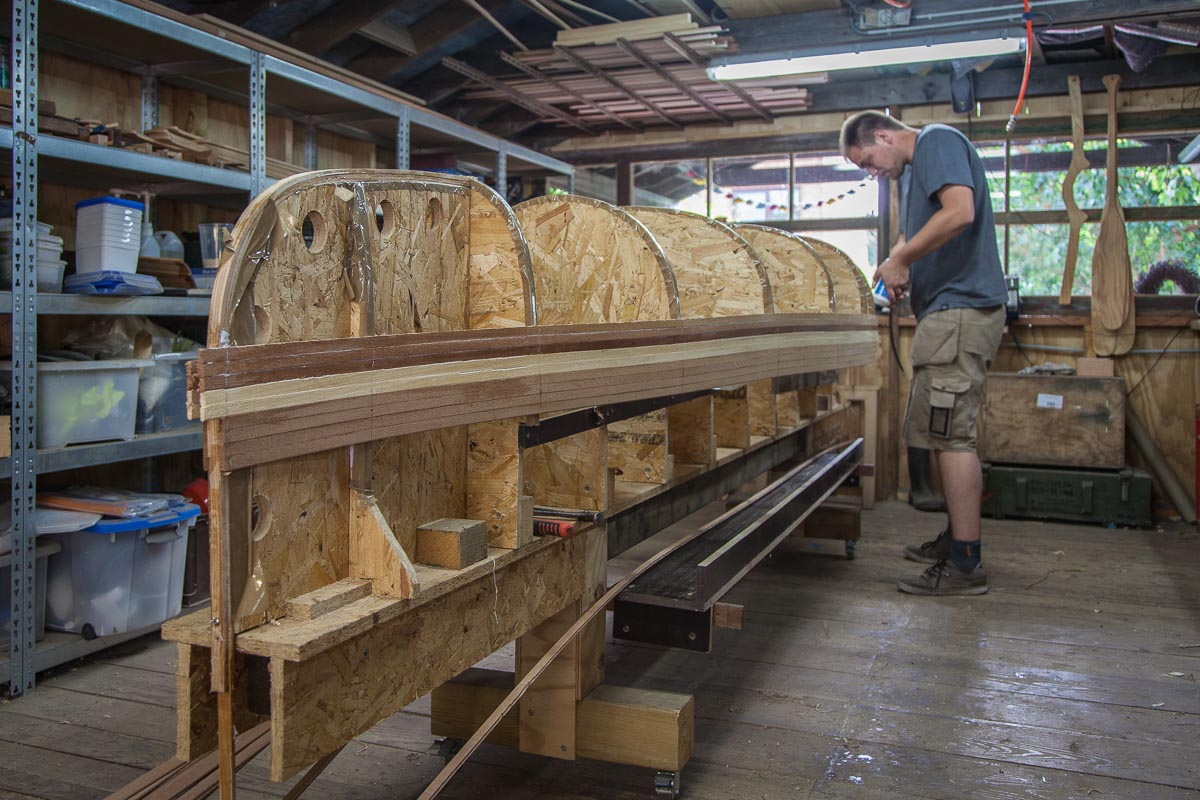
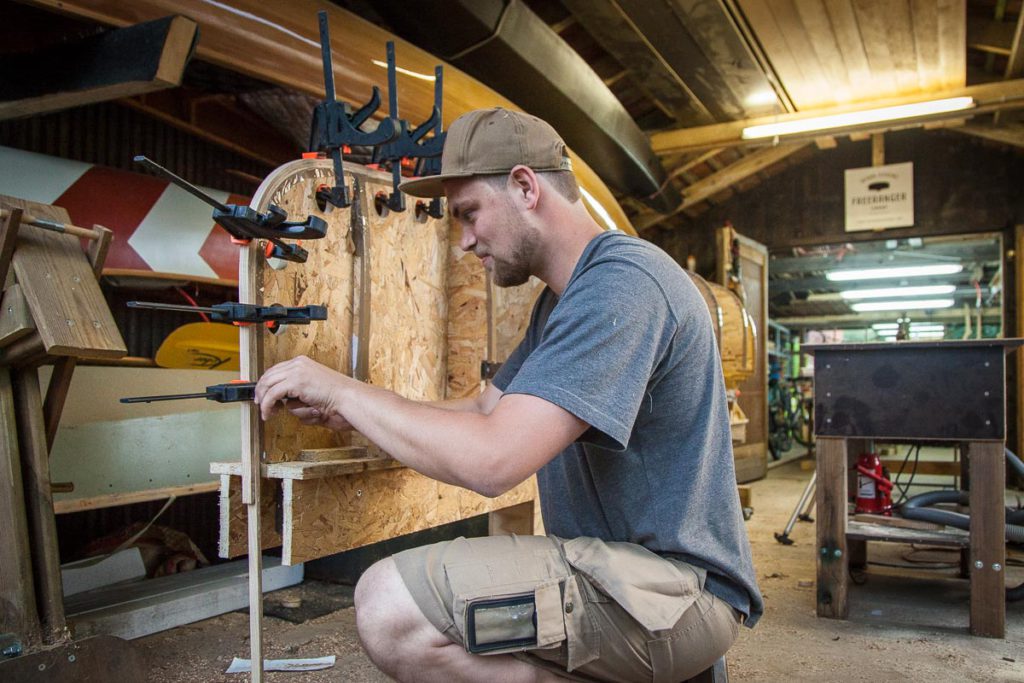
Dries is a carpenter by trade so building a canoe shouldn’t be too hard on him. Unlike other workshops where we provide the stations and the ripped strips Dries insists on going through the entire process. The first step we take is sawing out the stations. A job that needs some care and attention because the stations make up the mould of the canoe.
The strongback
Once the stations are ready they can be secured to the strongback. This is a very stable and strong work bench on which we will build the canoe. Attention to detail is required when building a canoe. We want to make sure the ultimate result is a straight canoe, you don’t want to paddle in circles.
Selecting the wood
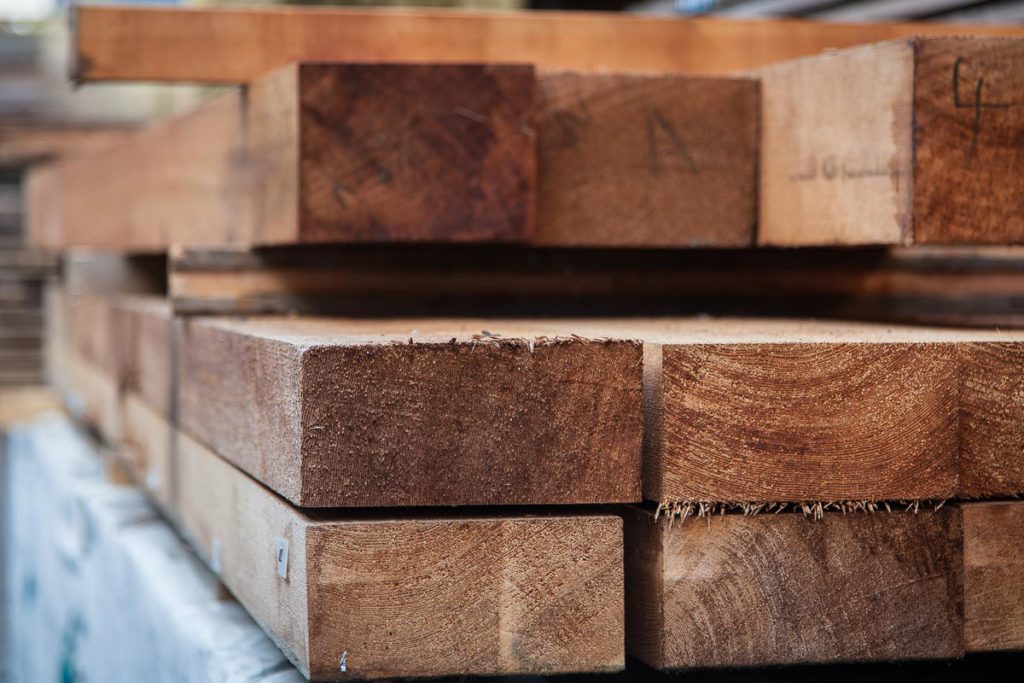
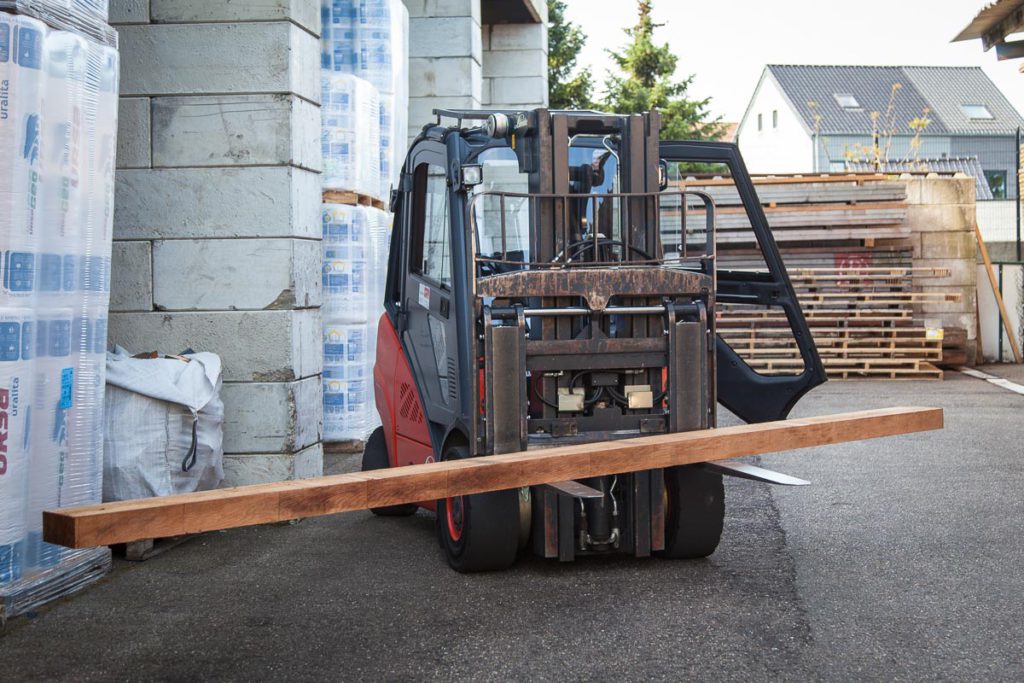
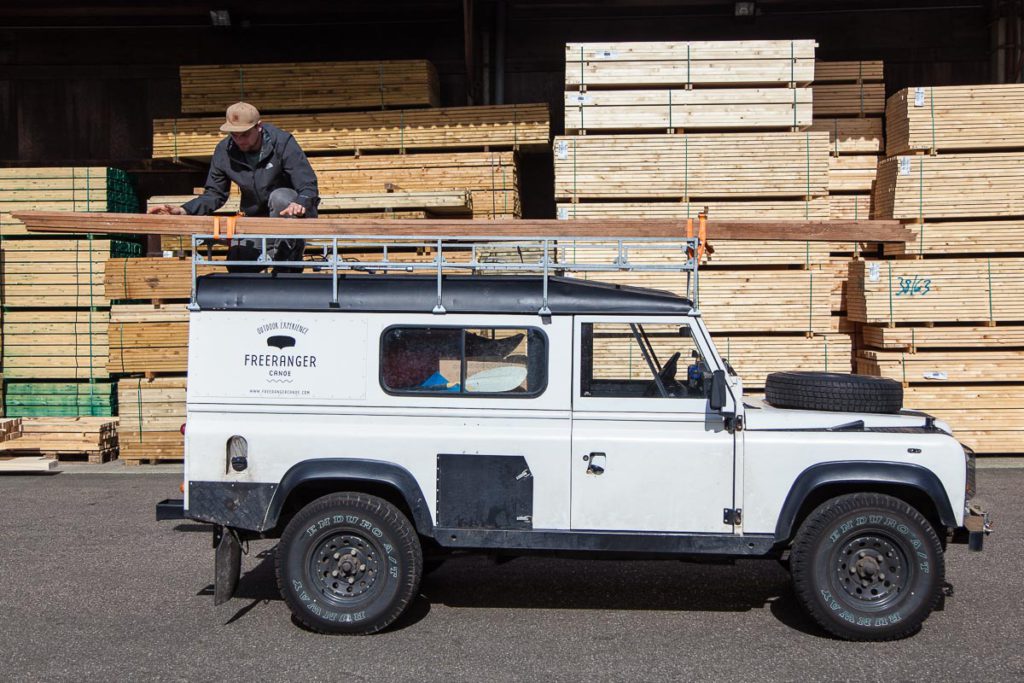
Dries wants to use Western Red Cedar for his canoe. Building a canoe with second rate wood makes no sense. We use Ajous or Western Red Cedar (grade clear and better). Both woods are light, flexible and available in long lengths without knots. That makes them ideal for canoe building. We always personally select our planks at our local lumber yard. We want wood with straight grain and no discoloring.
Ripping the strips
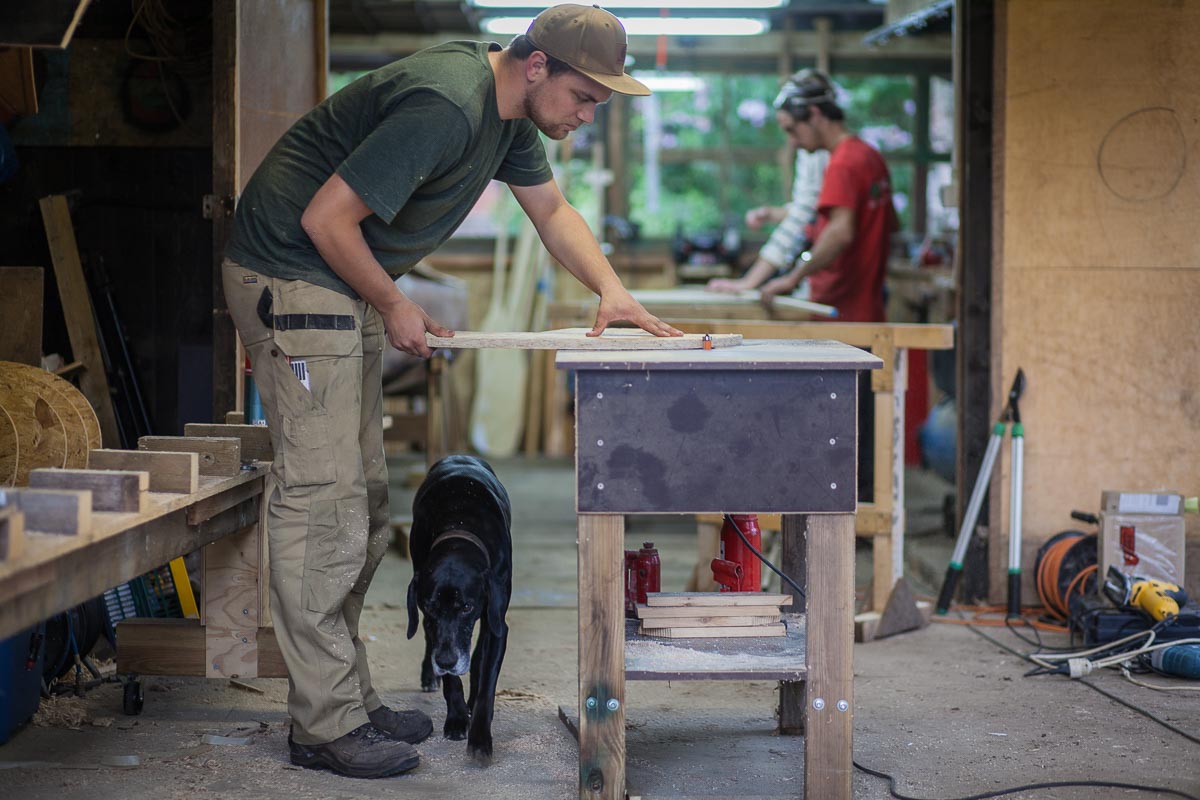
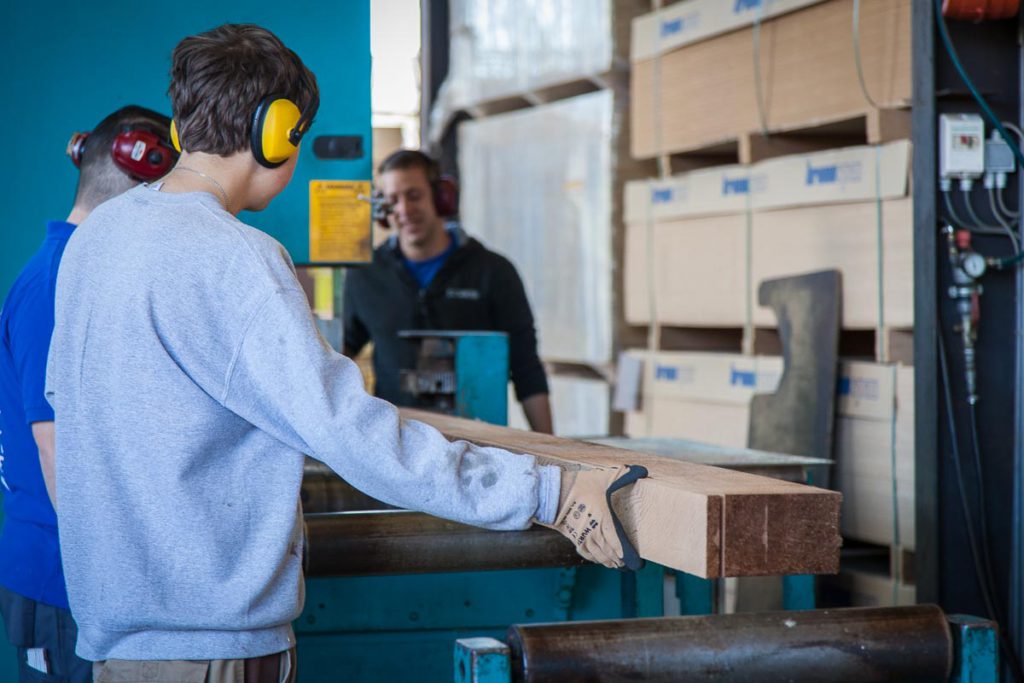
Once the timber is sawed into planks and planed to the correct thickness we can rip the strips. Subsequently these strips get milled with a bead-and-cove.
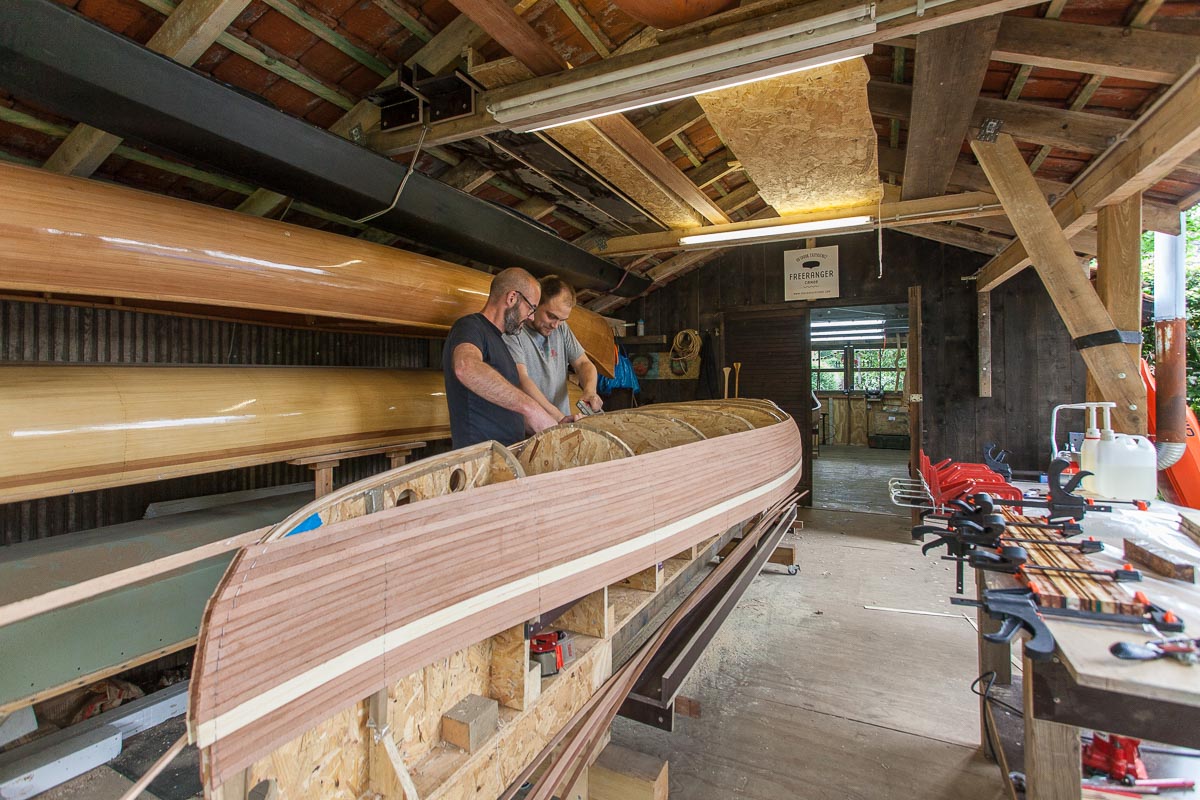
Building a canoe with cove and bead strips has several advantages. Firstly, it results in a smooth and natural curve because the bead nestles neatly into the cove. Also, the joint is light-tight. There will not shine light through the hull of the boat. And finally it makes stripping around curves a lot easier.
Installing the inner stems

Stripping the canoe
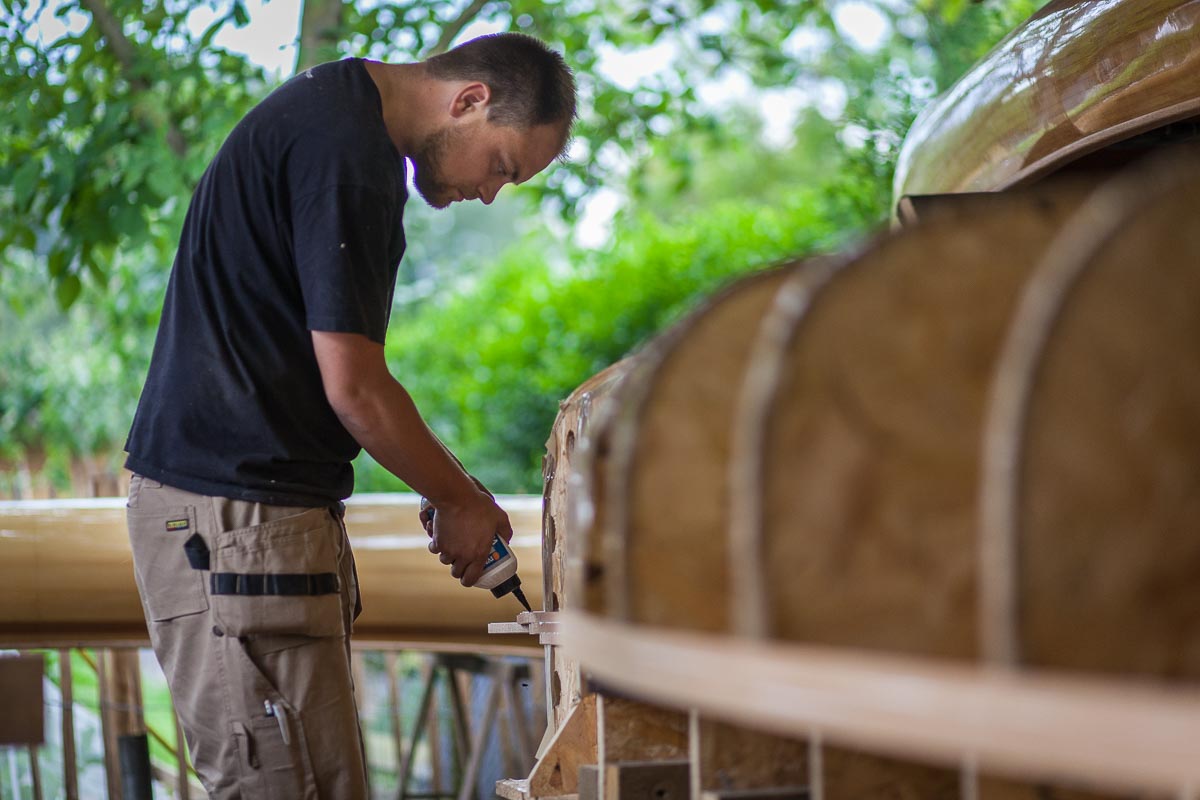
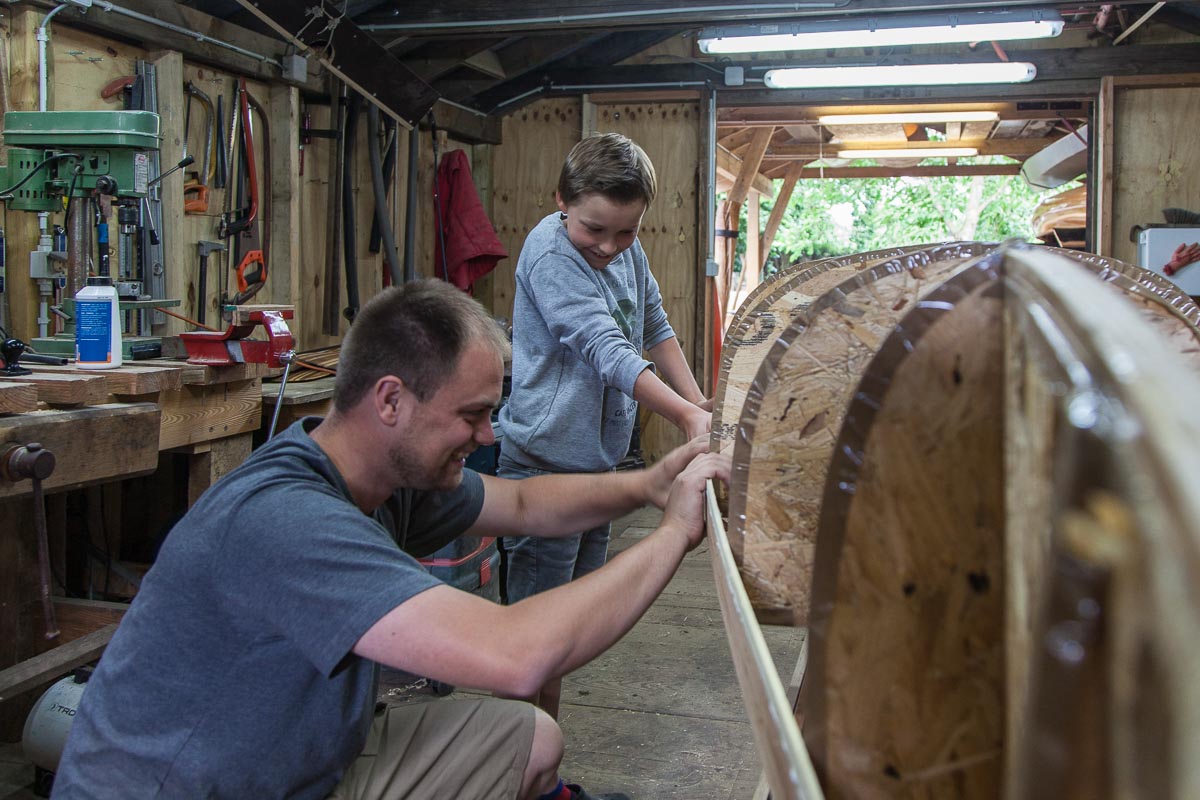
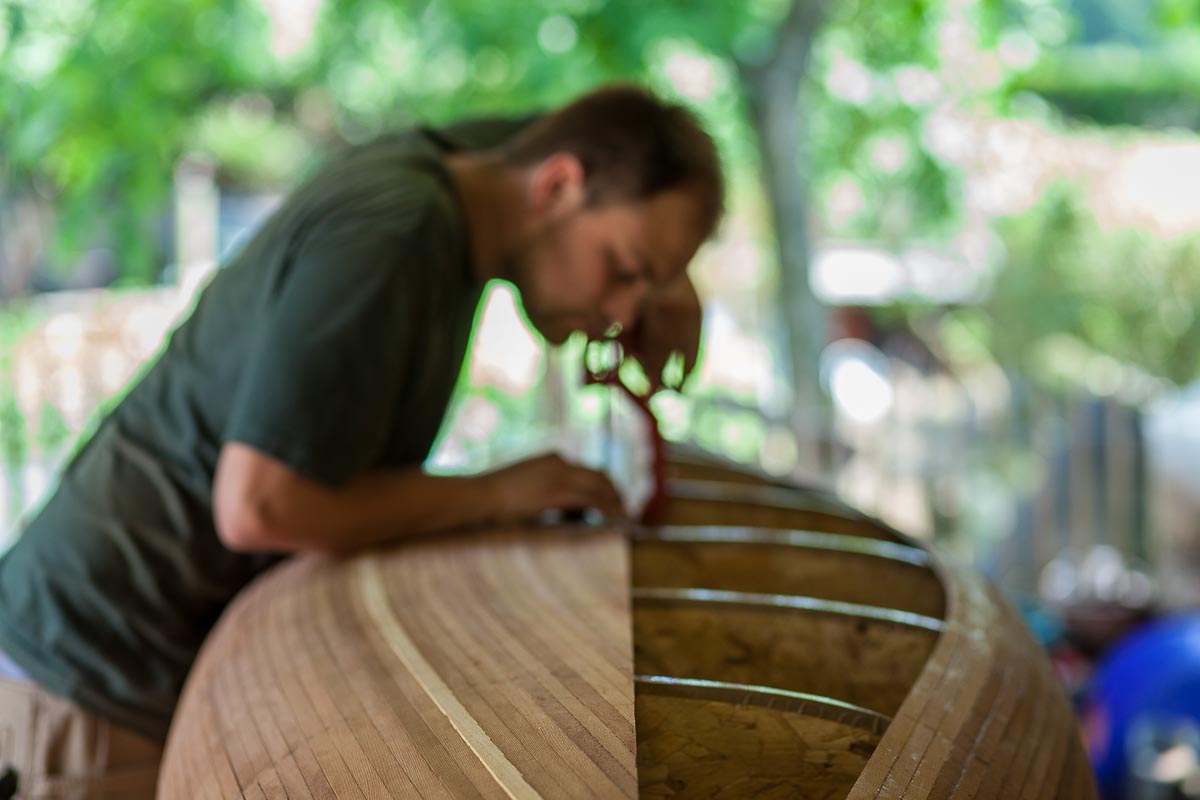
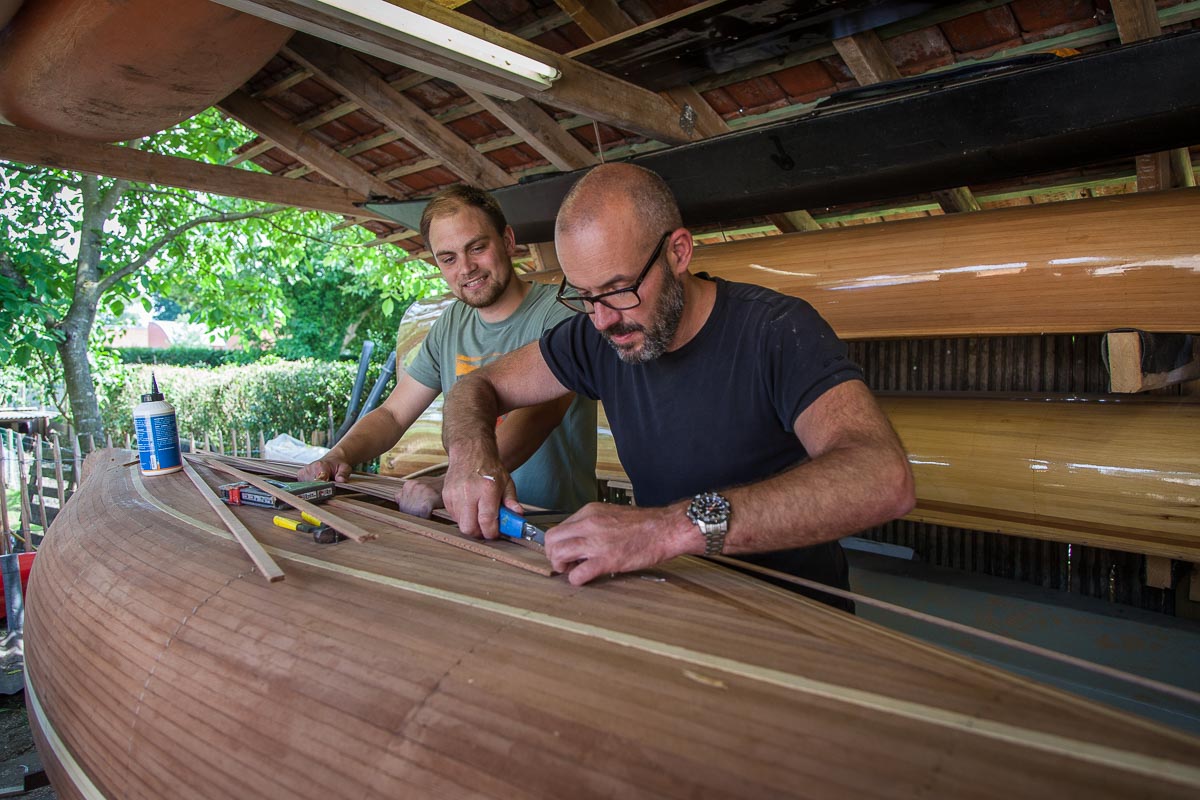
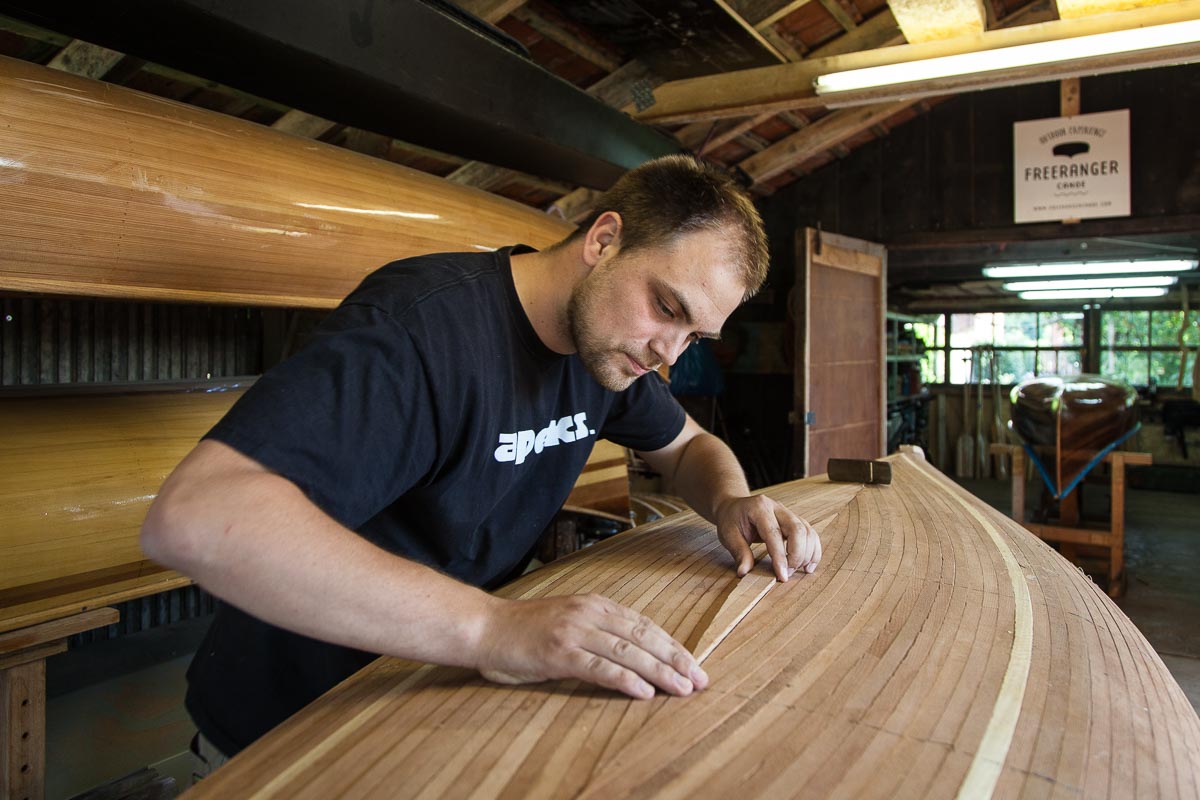
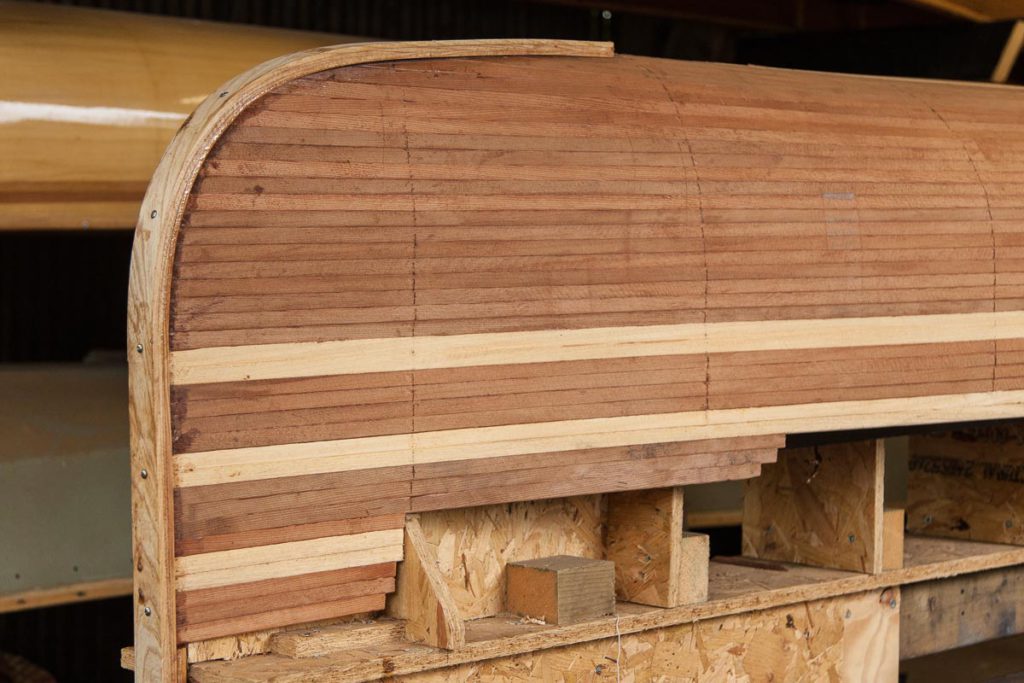
When you ‘re building a canoe the most exciting part is the actual building with the wood strips. Strip by strip the canoe materializes. Every strip is stapled to the form and glued together. In a couple of sessions your canoe becomes reality.
Preparing the hull to be laminated
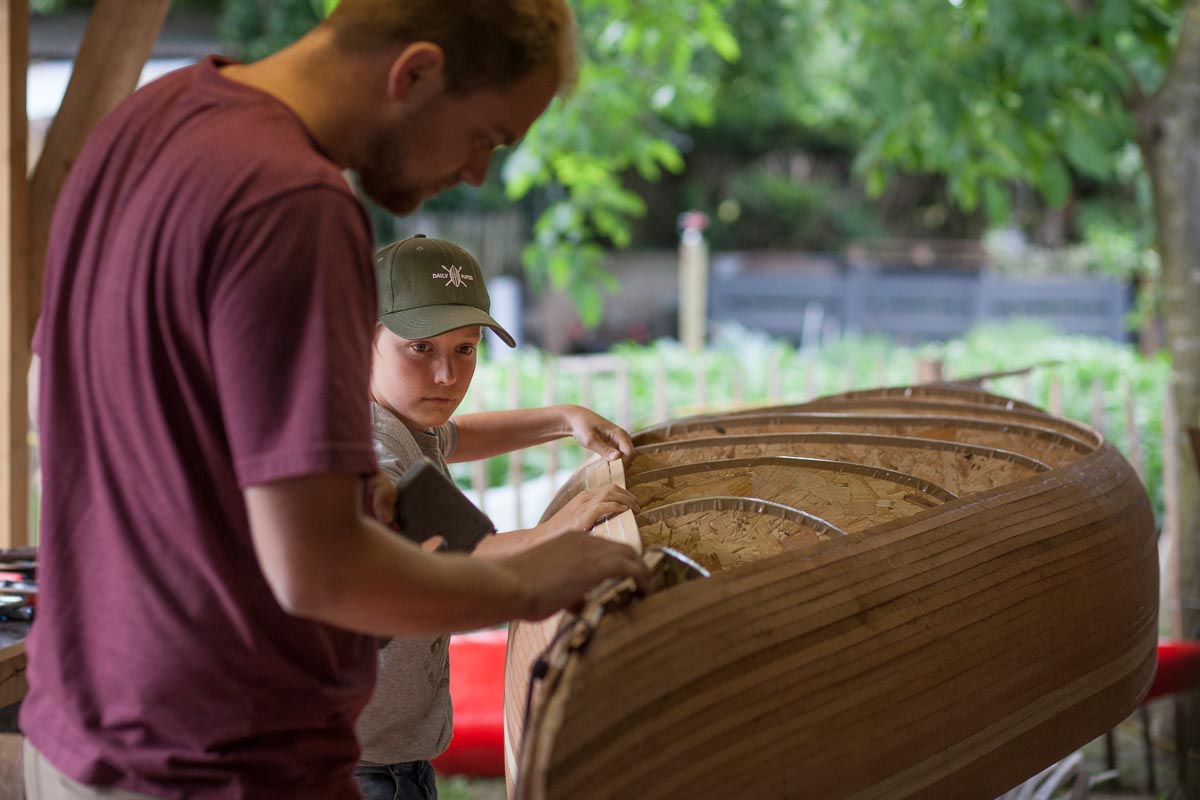
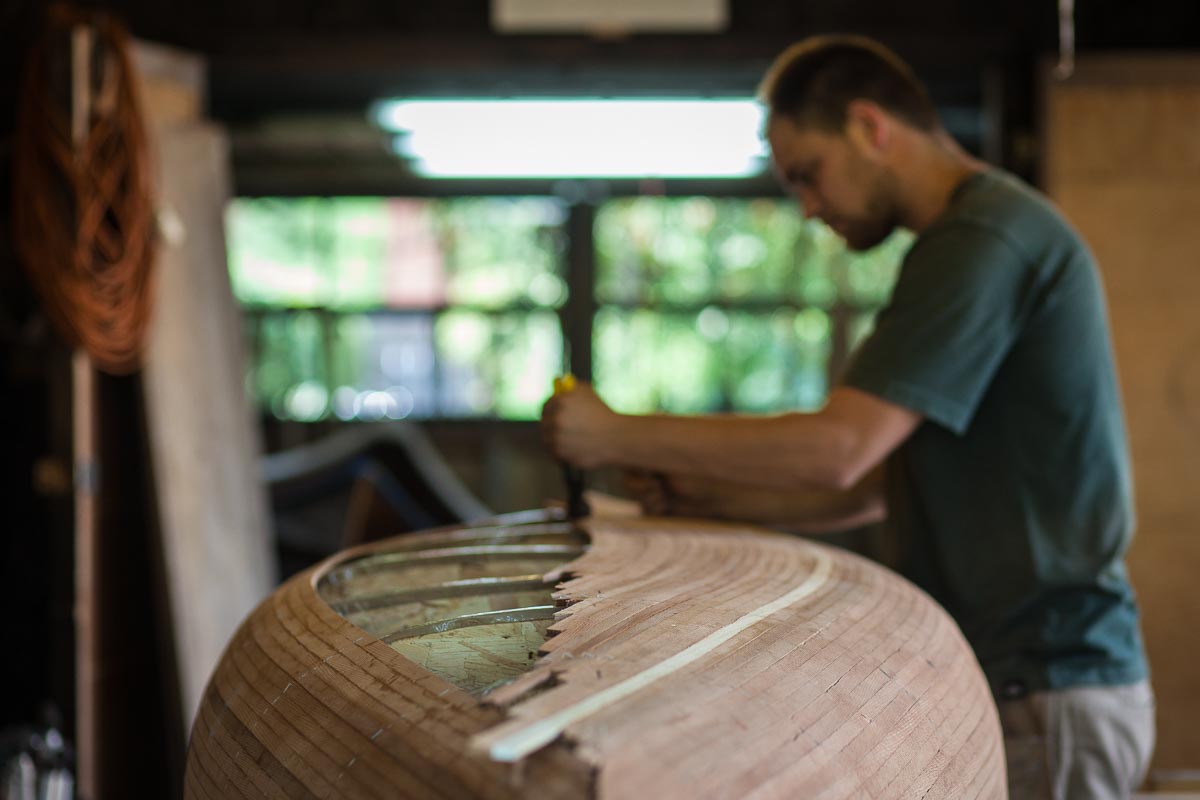
Once the stripping is done there is an actual canoe in the shop but there is still a lot of work do be done. Before the canoe can be laminated the hull needs to be prepared perfectly. Any irregularities you don’t fix now will be visible indefinitely.
Firstly the outer stem need to be installed. That is done by laminating a number of ash strips to the inner stems.
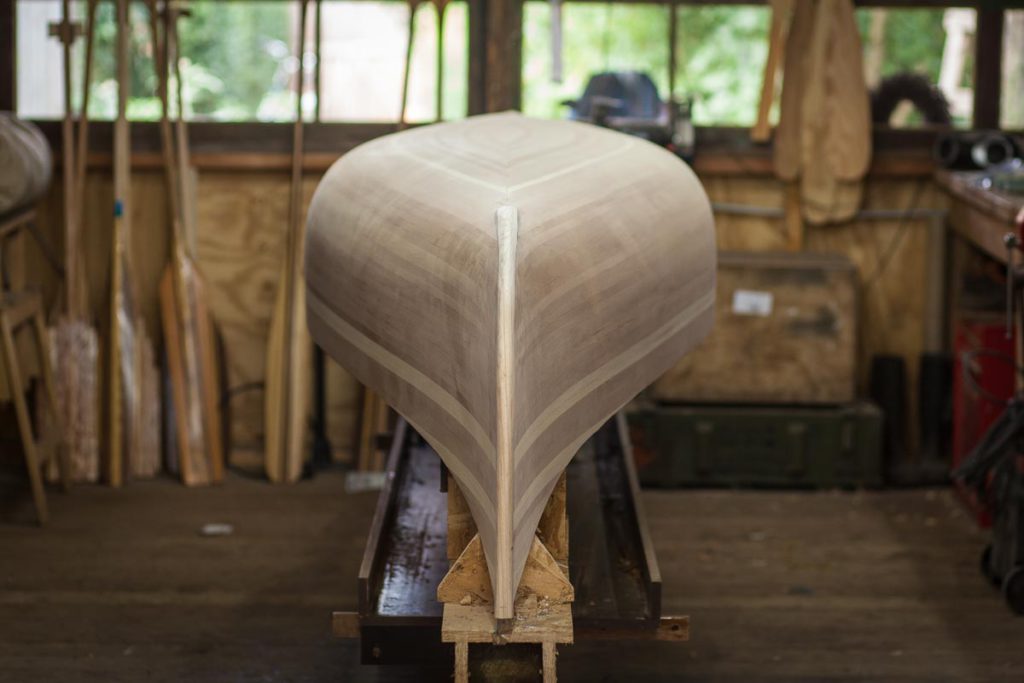
Next comes the most time consuming (and dusty) part of building a canoe; sanding the hull. Hours and hours of sanding.
Laminating the hull
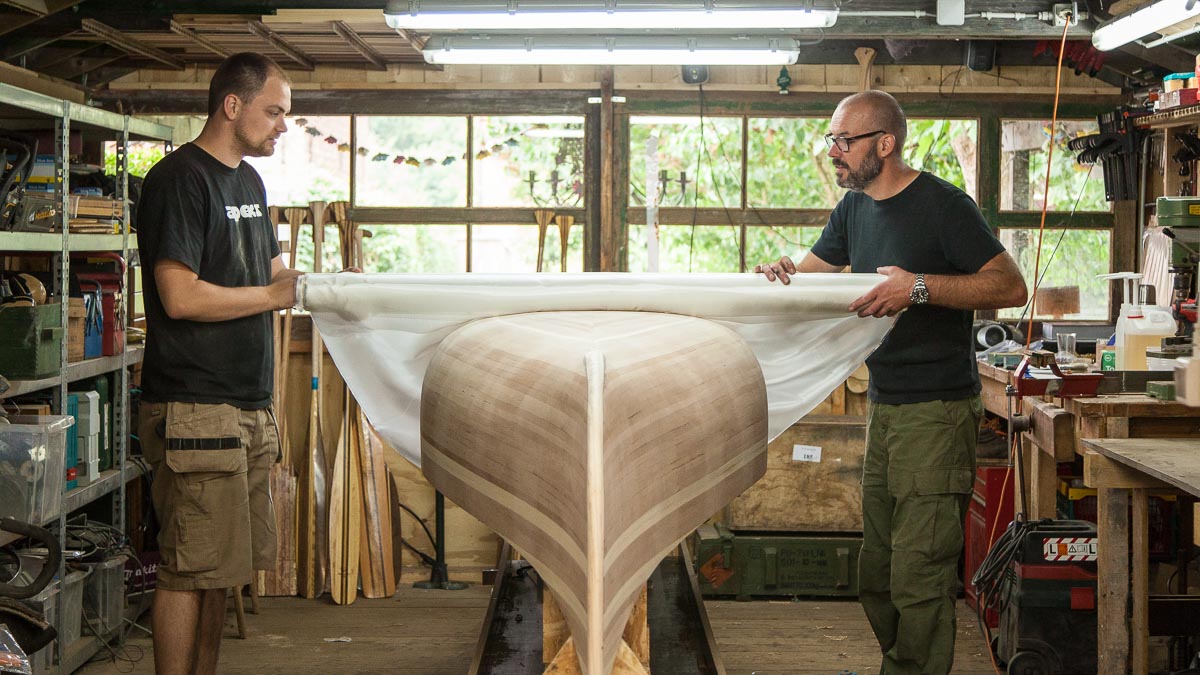
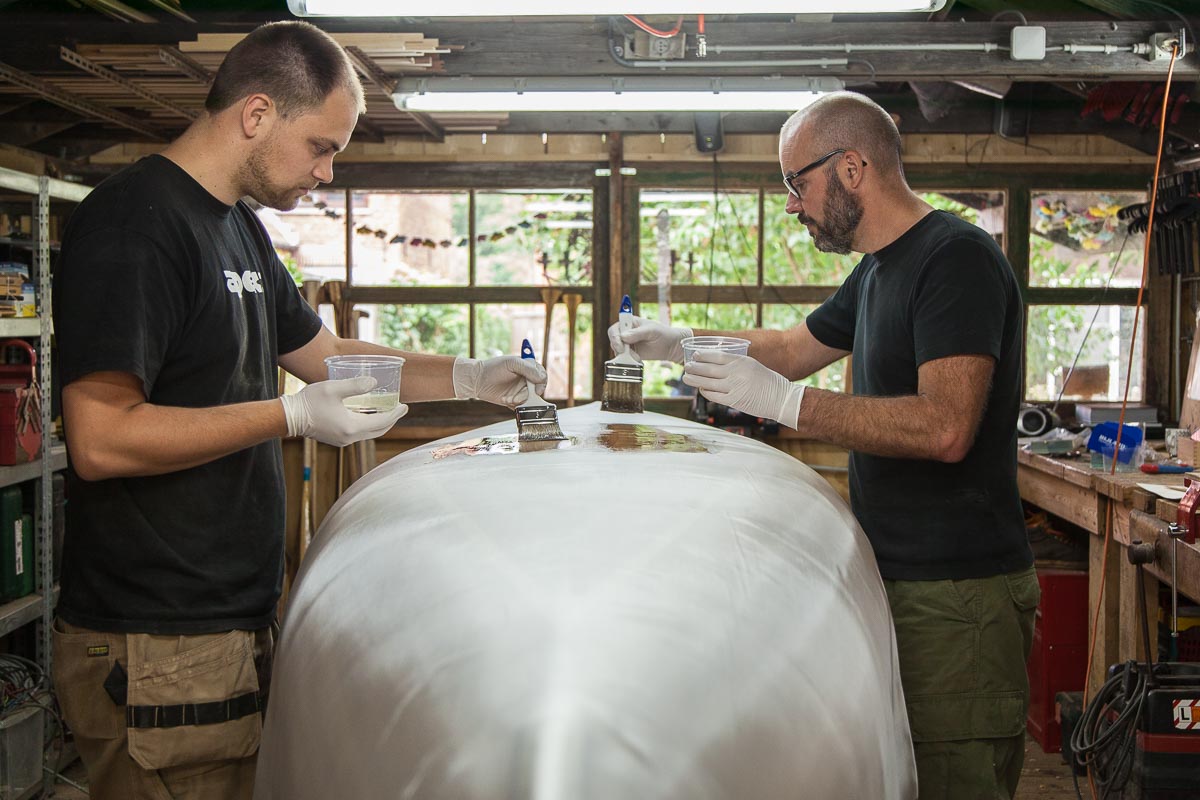
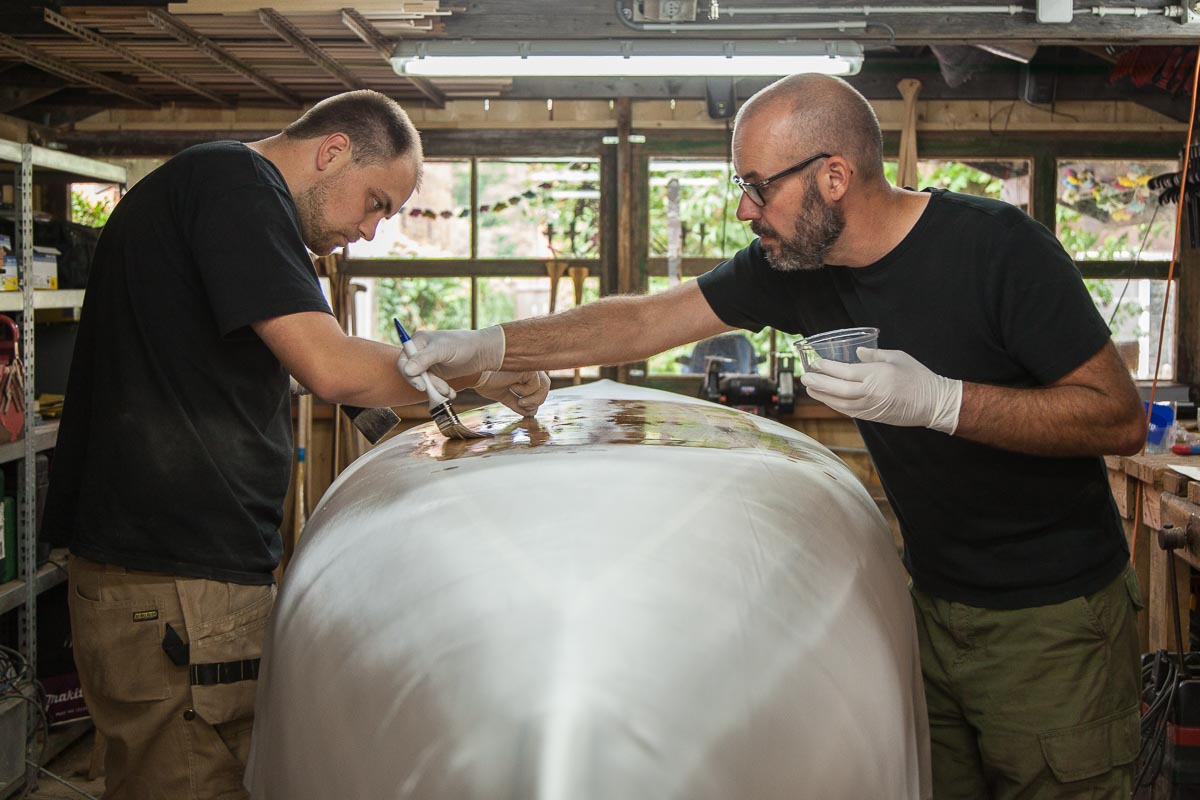
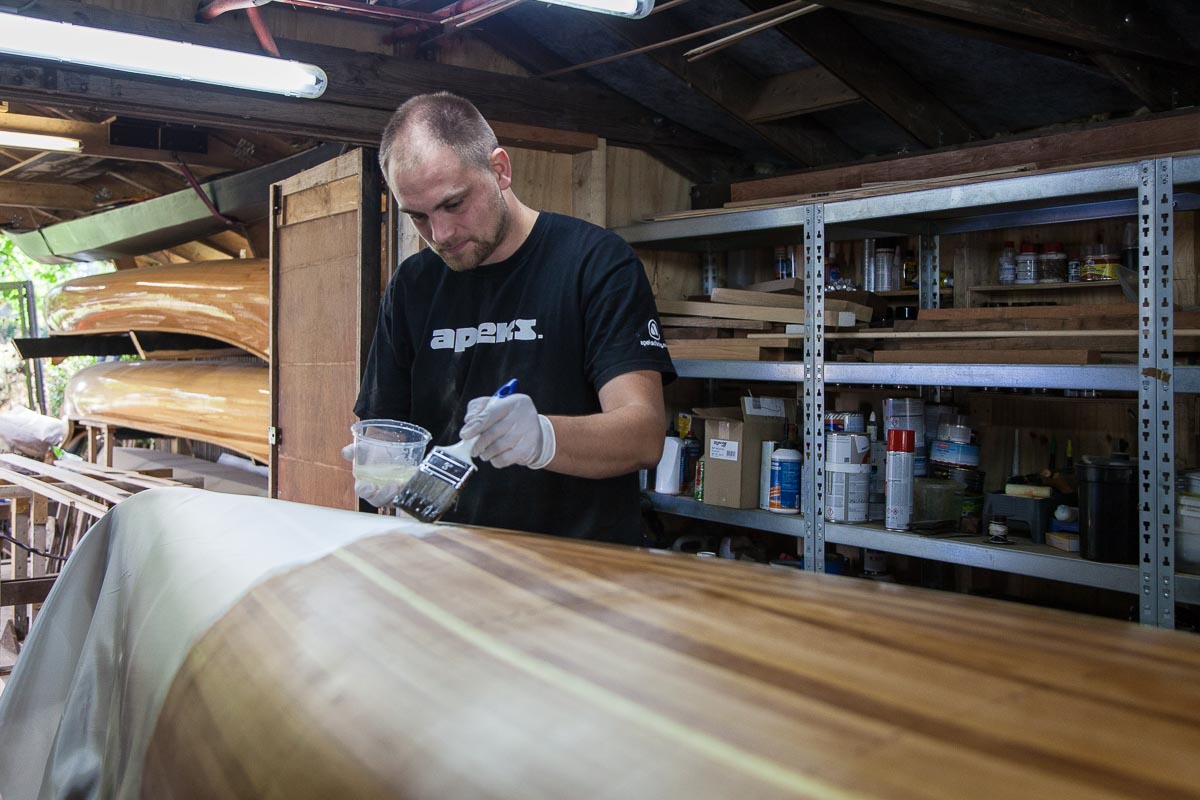
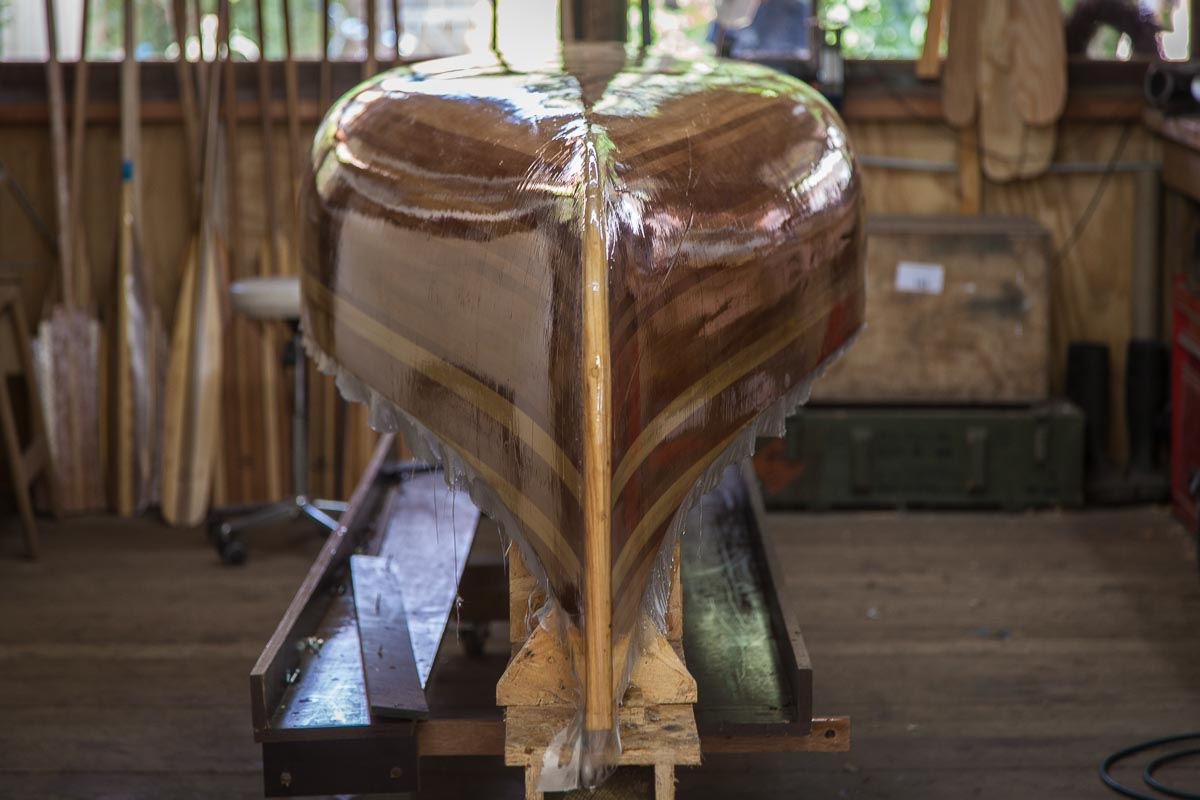
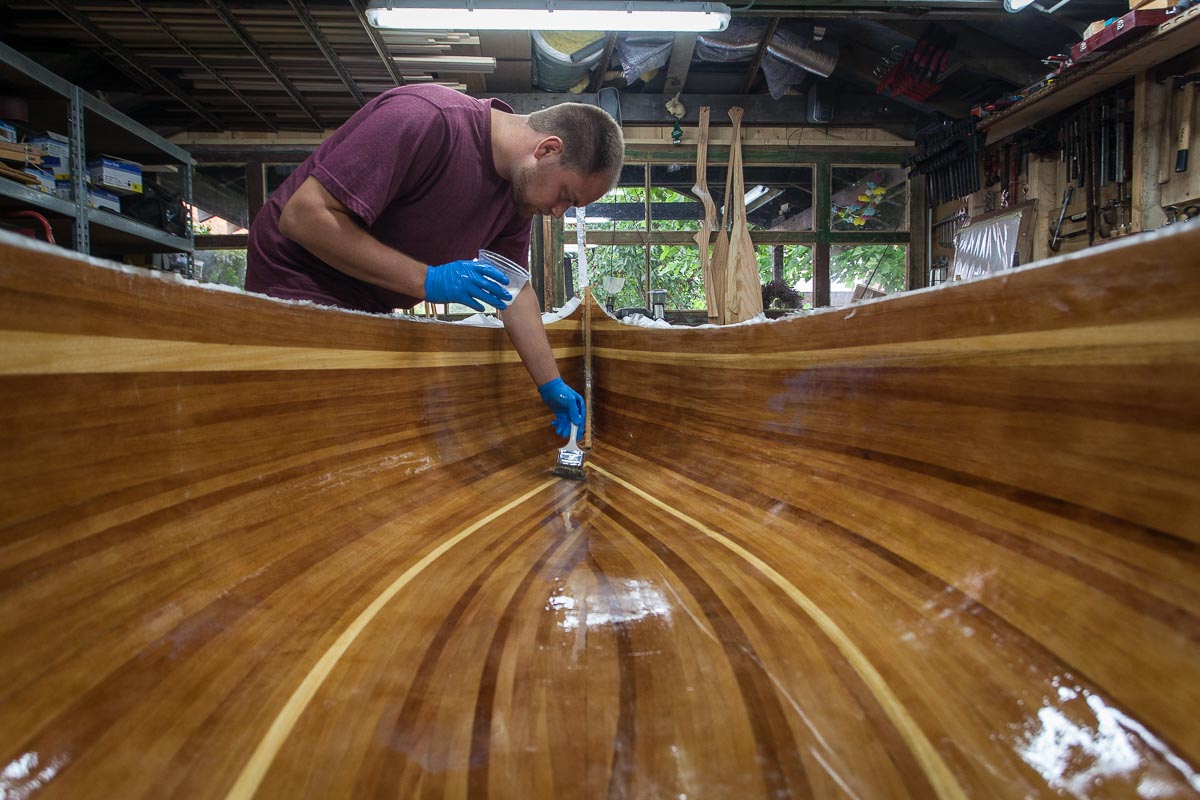
Once the wooden hull is ready the most crucial step in building a canoe has arrived. Sealing the hull to make sure no water or moist can ever reach the wood. Unlike common believe a wooden canoe isn’t just made of wood. The actual strength and impermeability of the canoe comes from the epoxy-glass fabric you apply to the wood. The wooden hull forms the core of this very strong, stiff and waterproof laminate.


